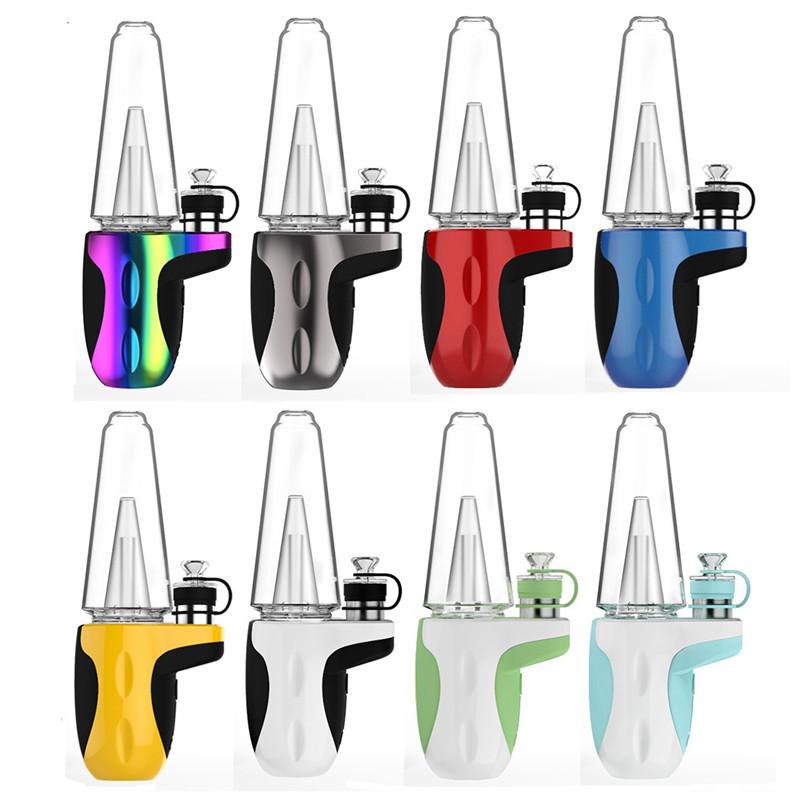
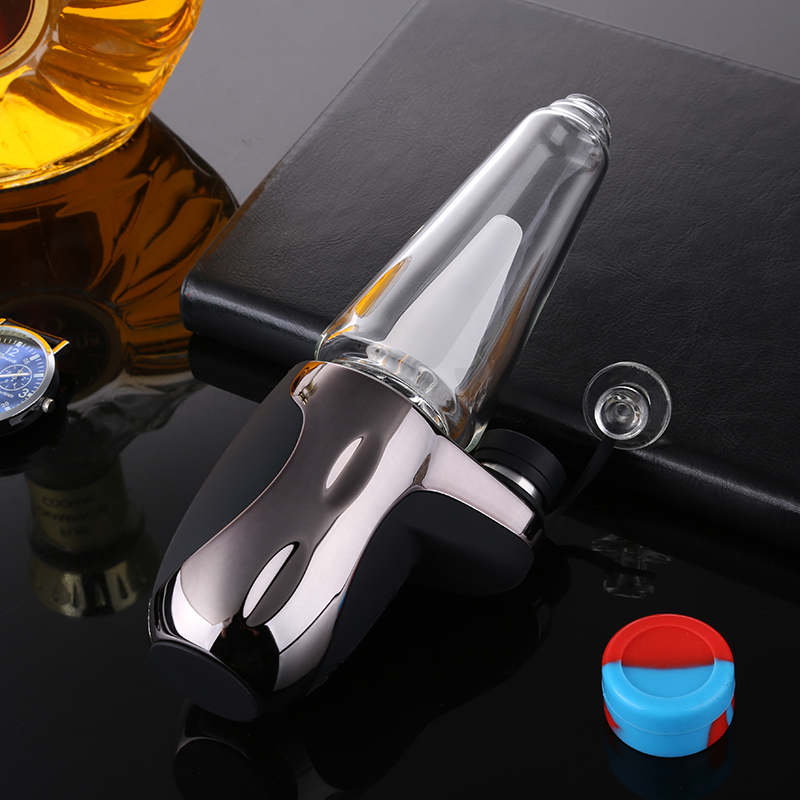
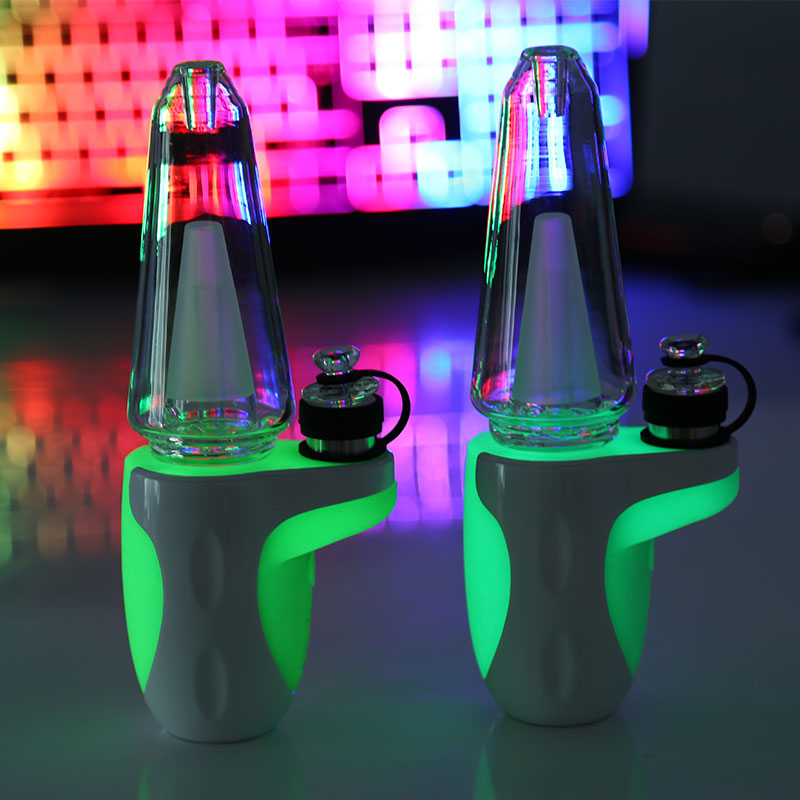
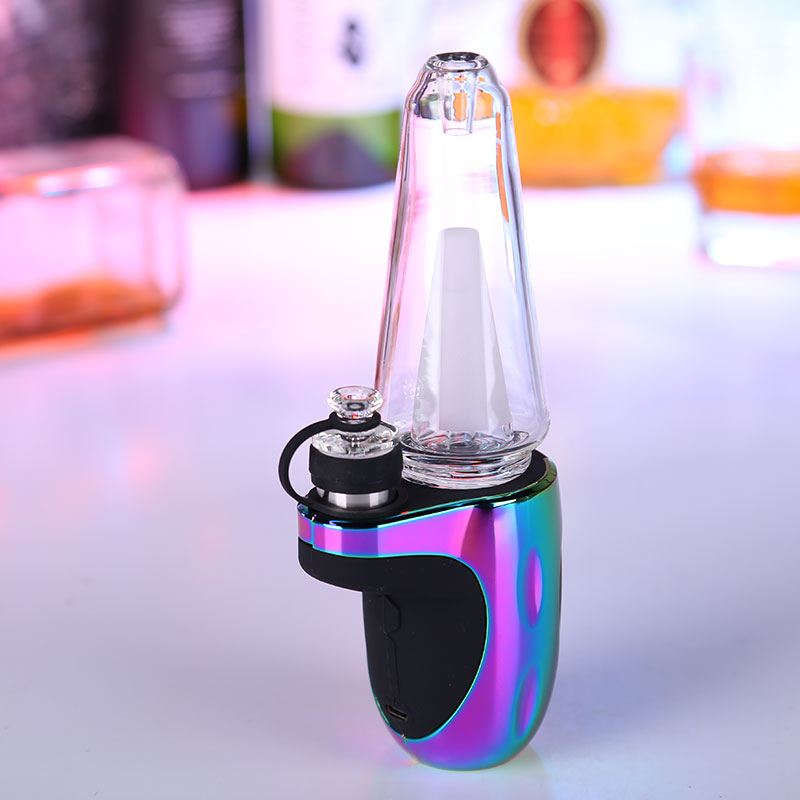
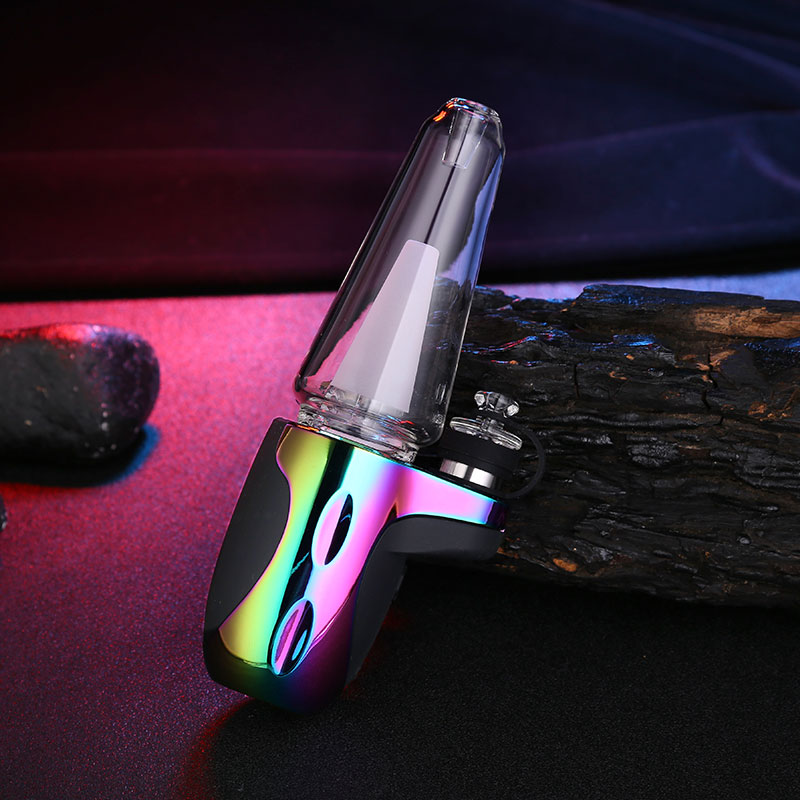
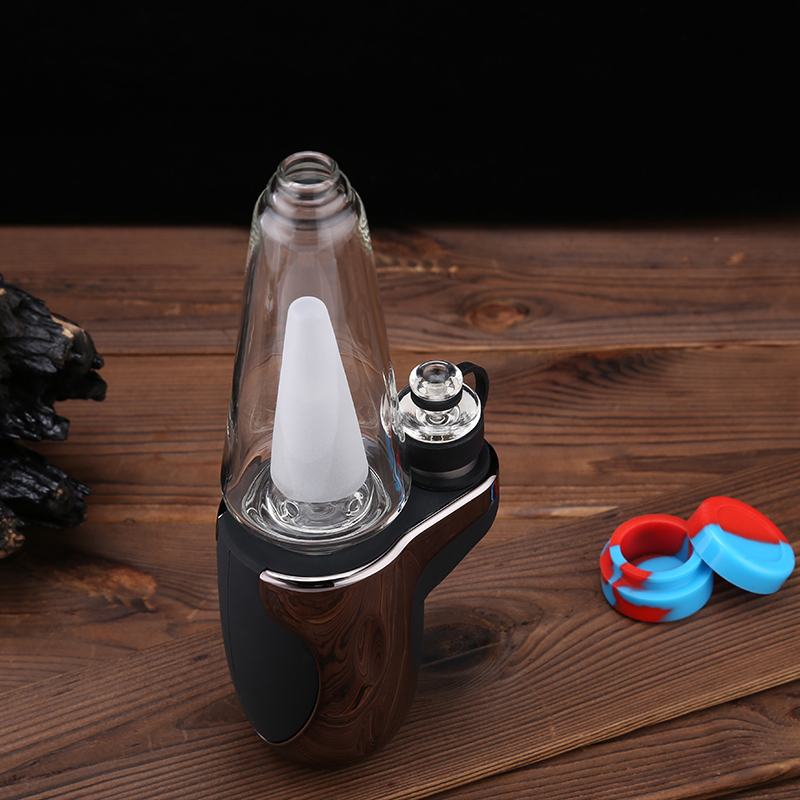
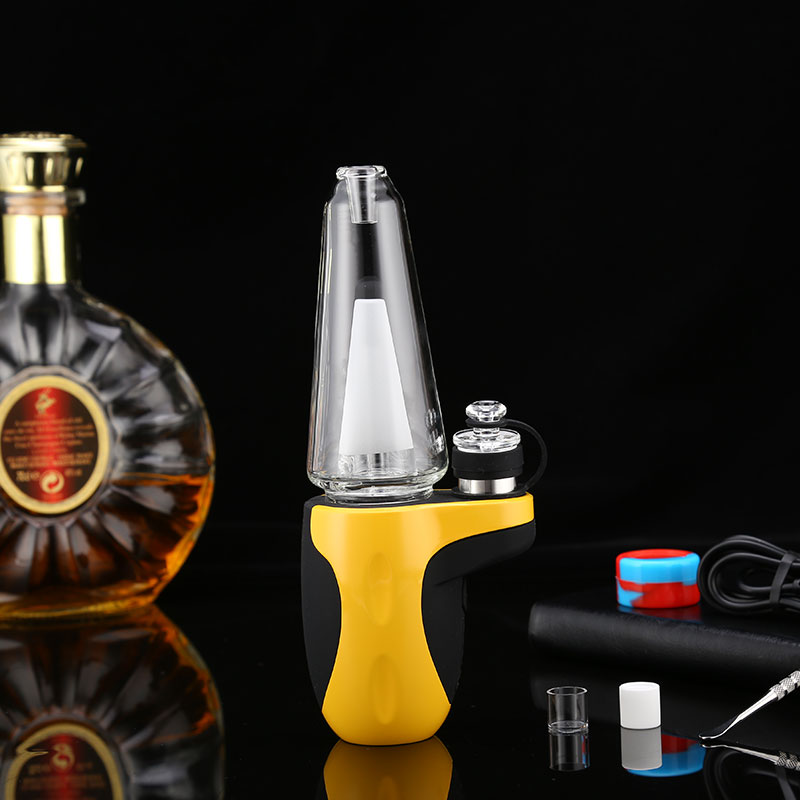
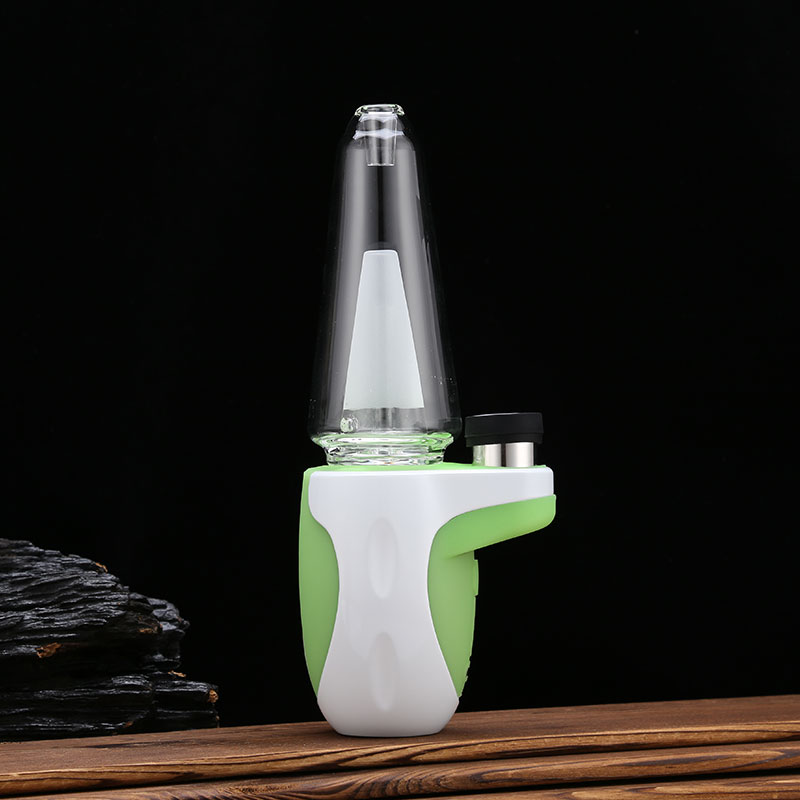
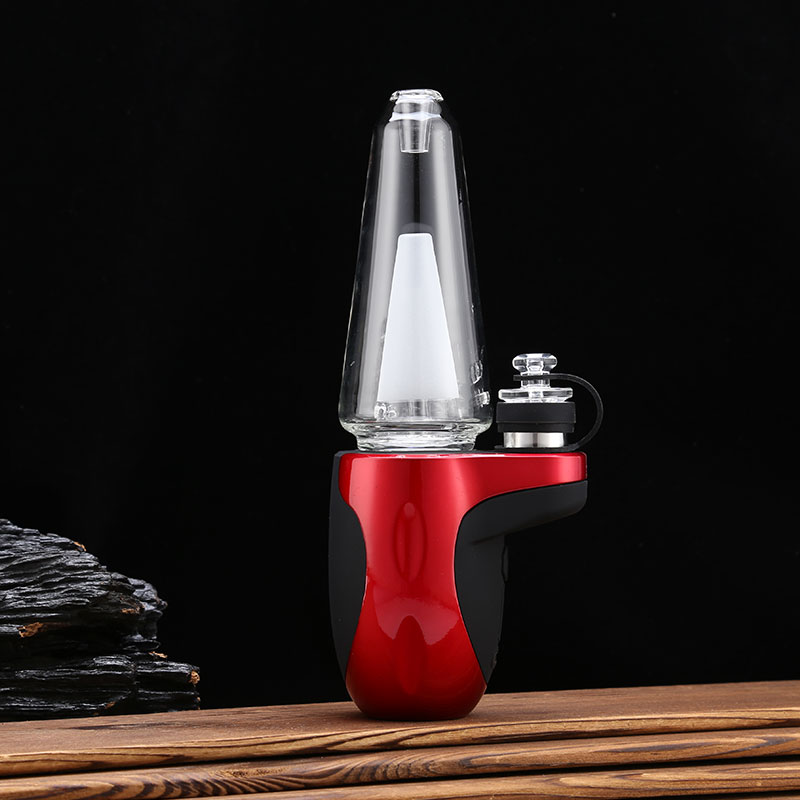
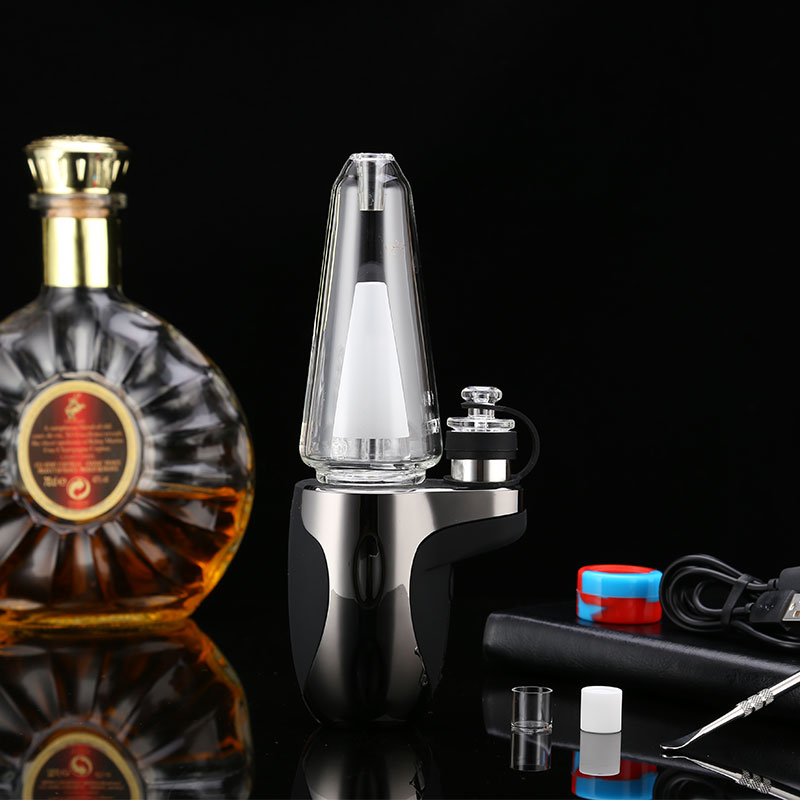
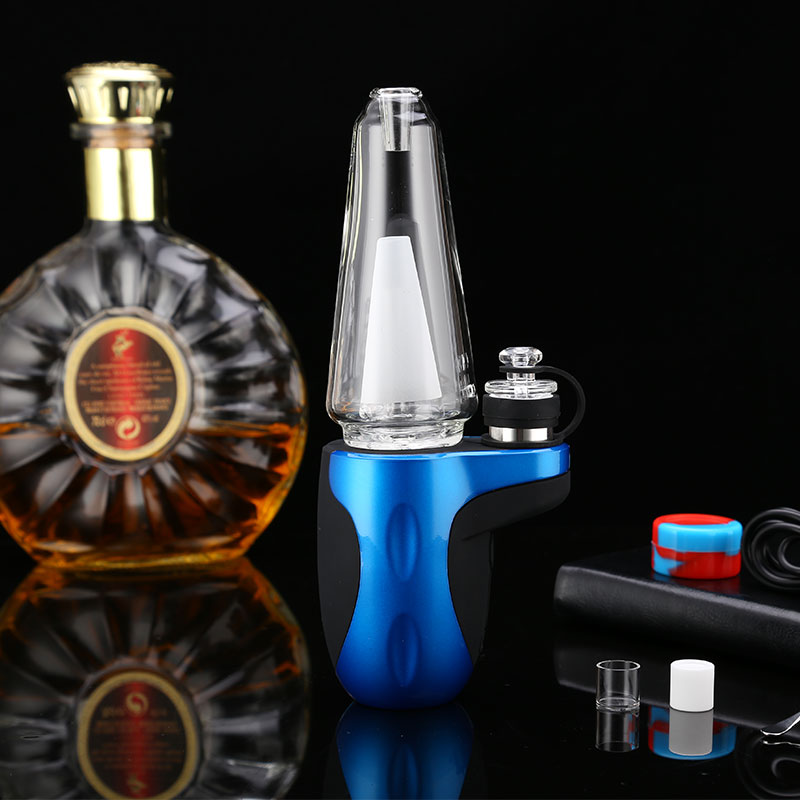
Exseed Dabcool W2 Electric Dab Rig Wax Vaporizer Kit
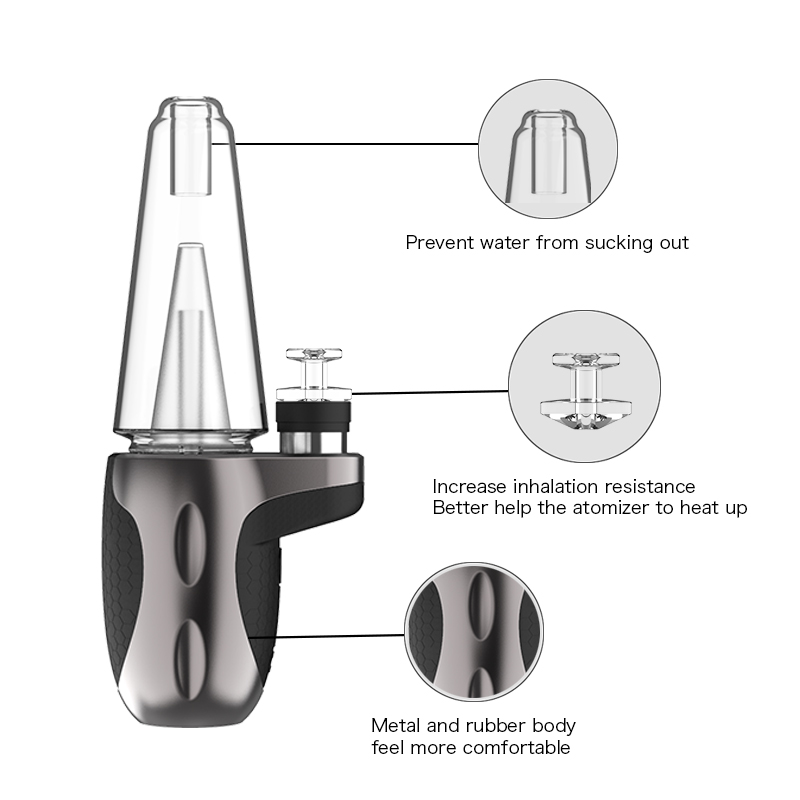
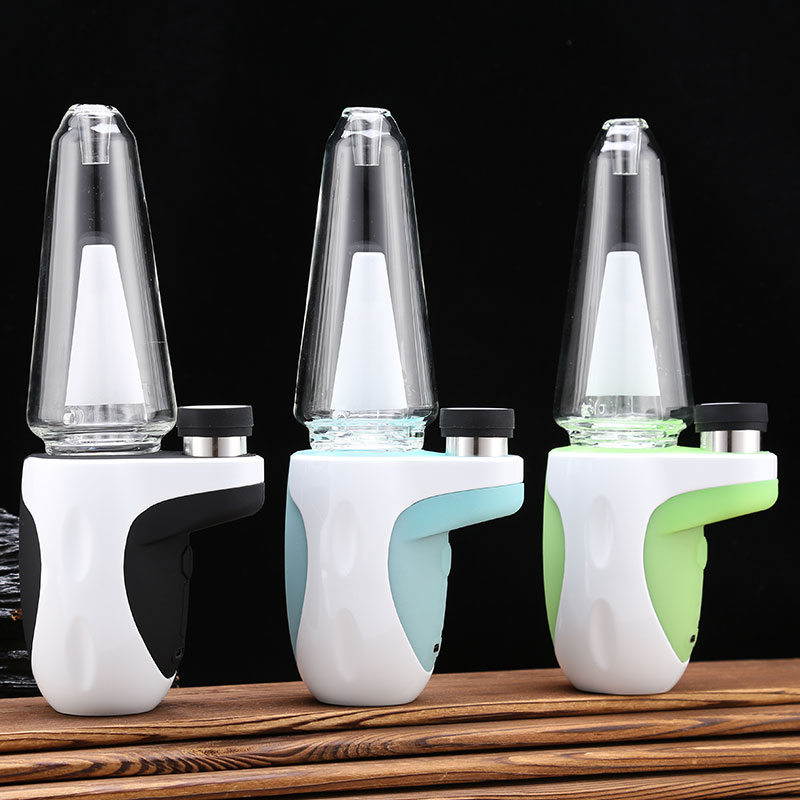
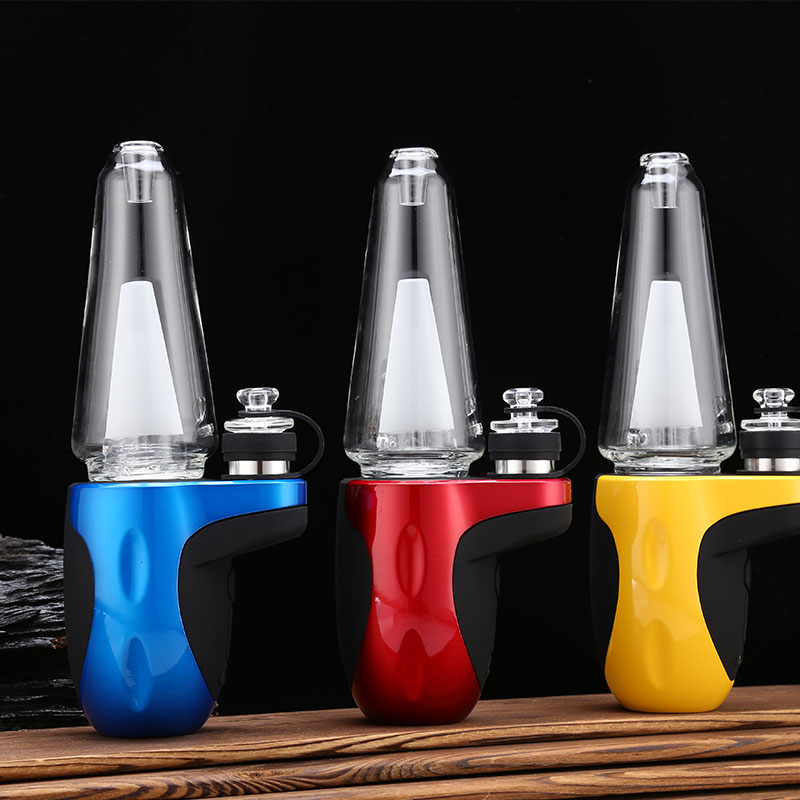
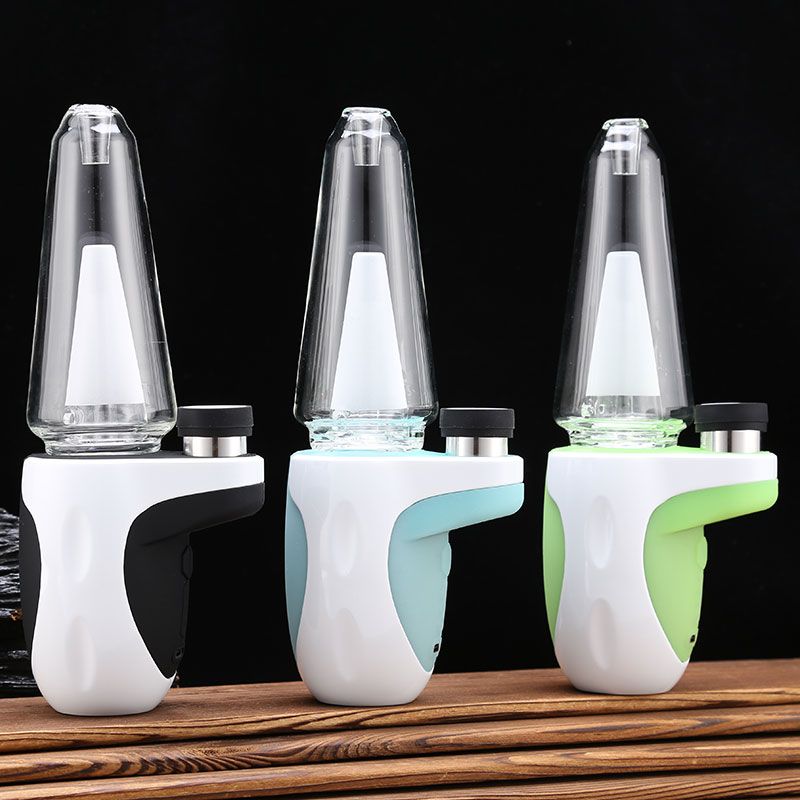
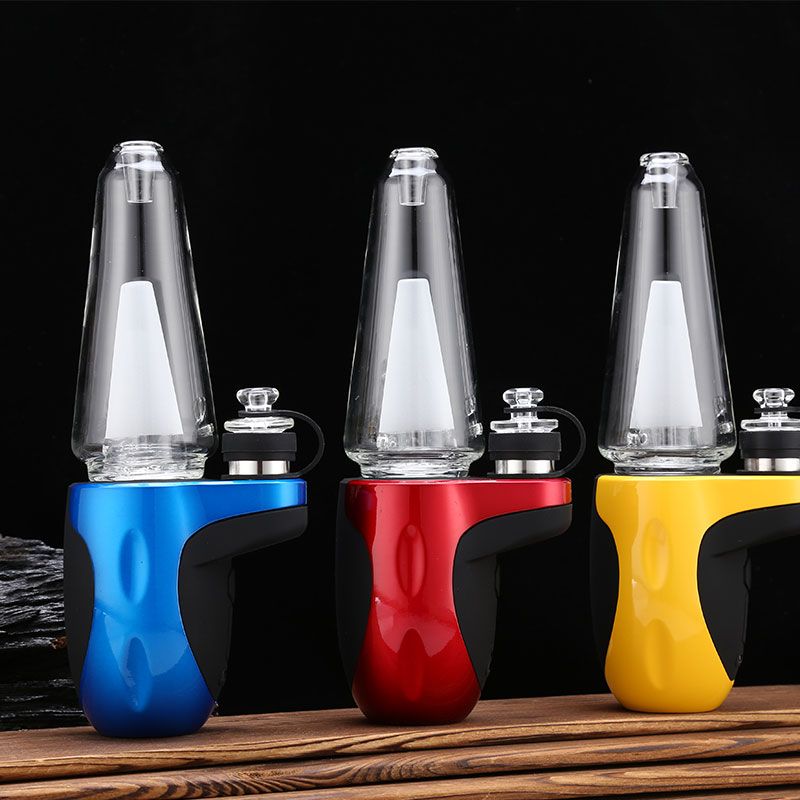
Metal and Rubber Body
Size:194*82*53mm
Battery Capacity:1500mAh
Intelligent Temperature Control System
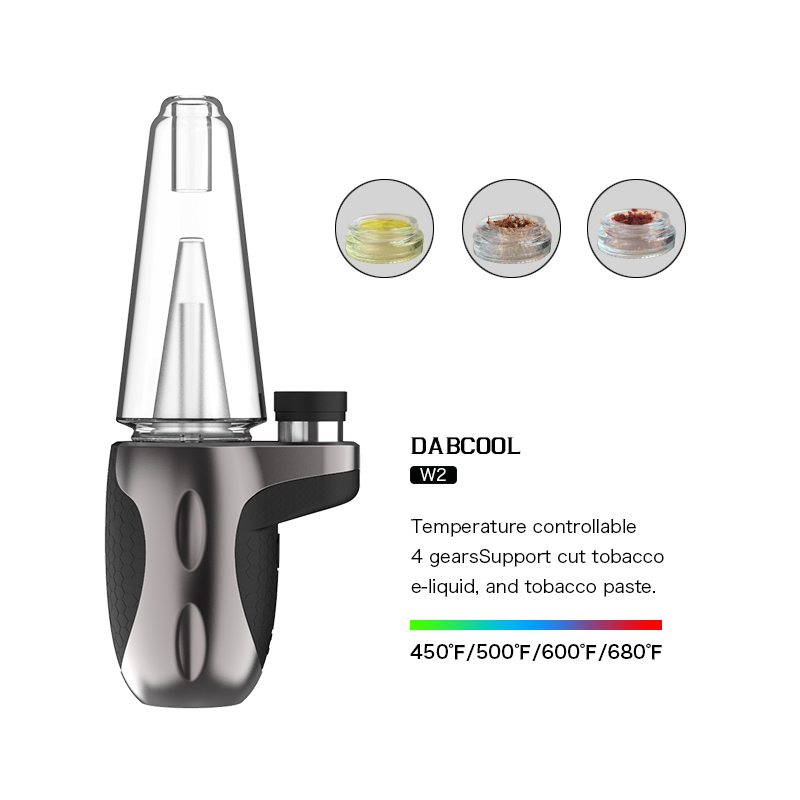
Temperature Controllable 4 Gear
Output Temperature:450°F/500°F/600°F/680°F
Press to adjust the temperature
Supports cut tobacco, e-liquid, and tobacco paste
-
Detail

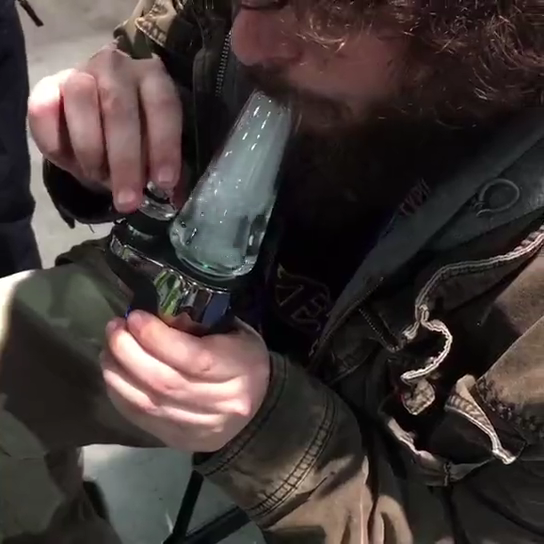
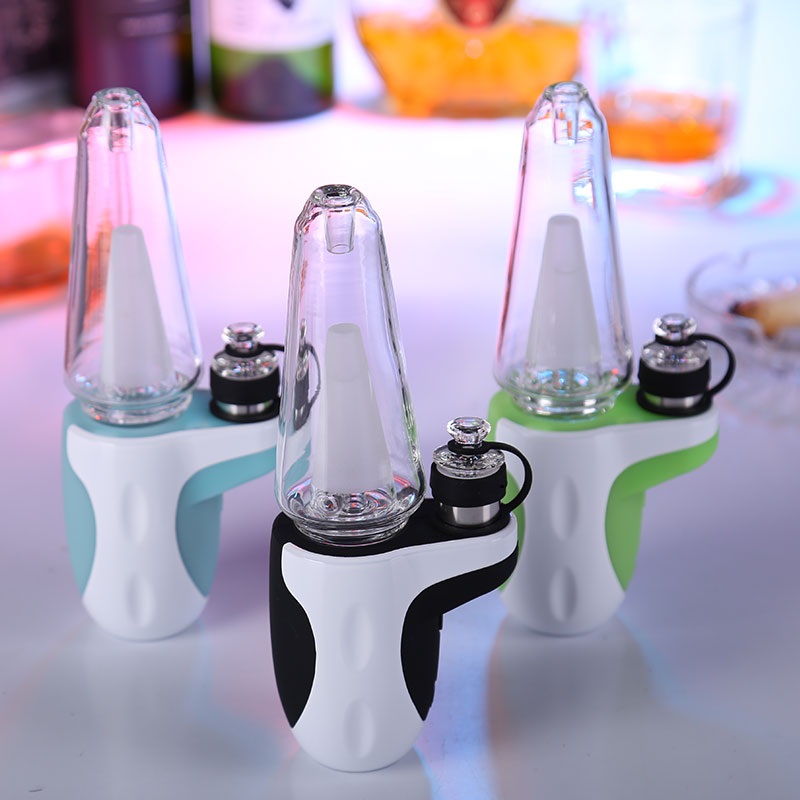
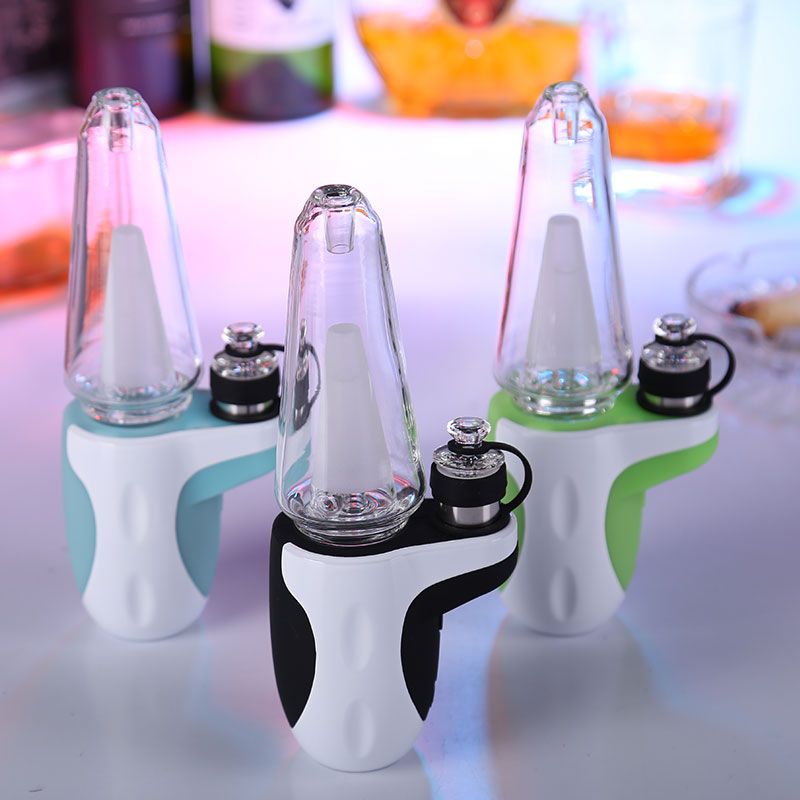
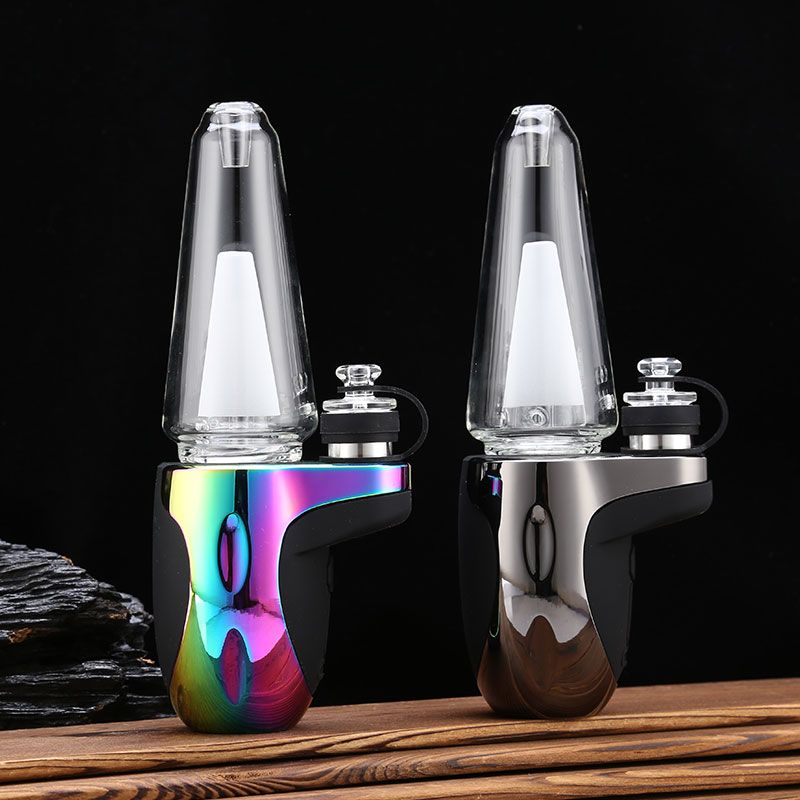
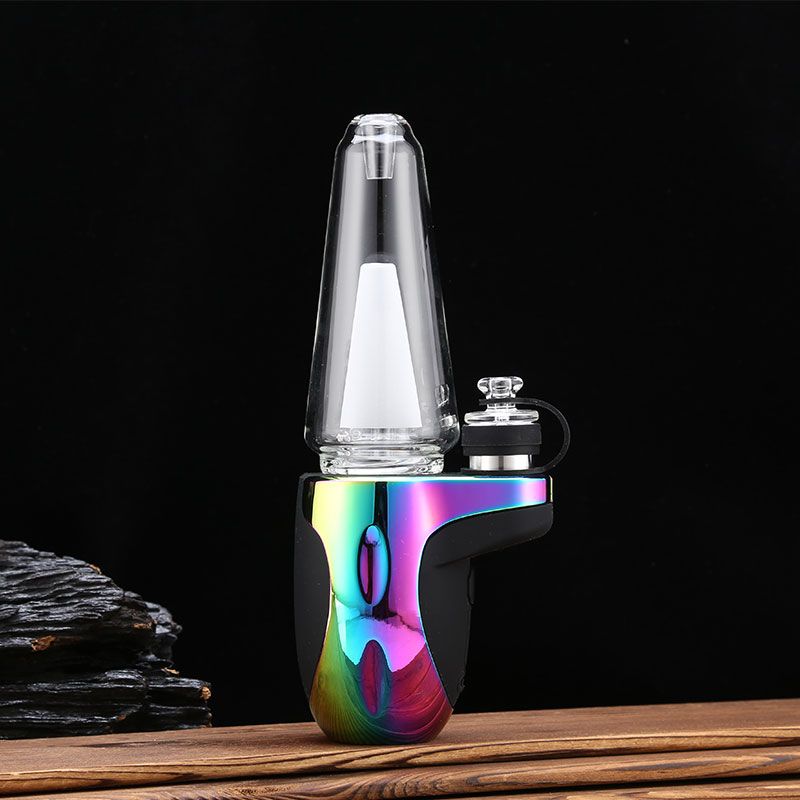
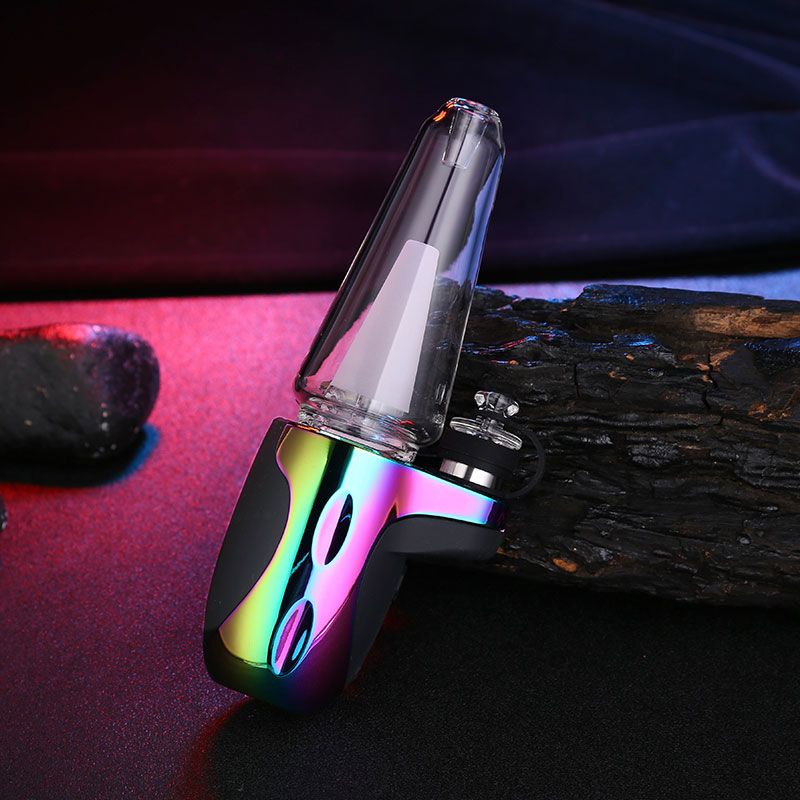
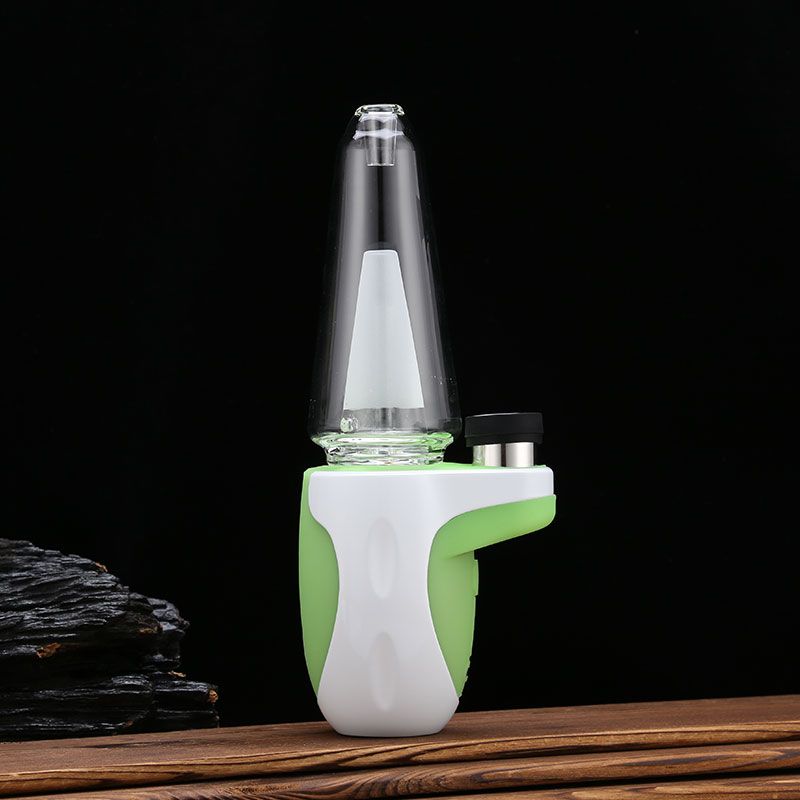
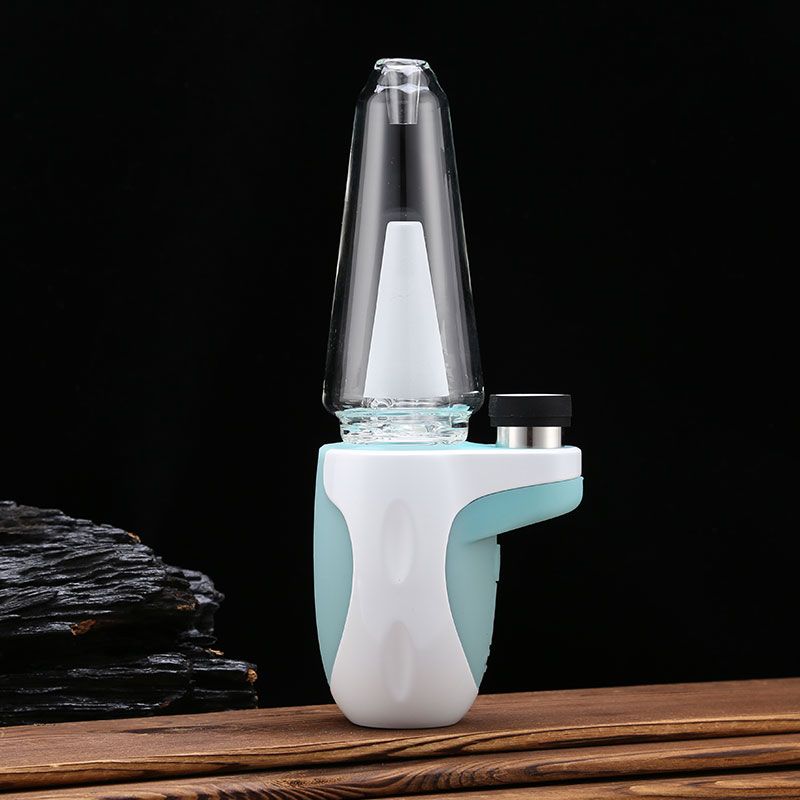
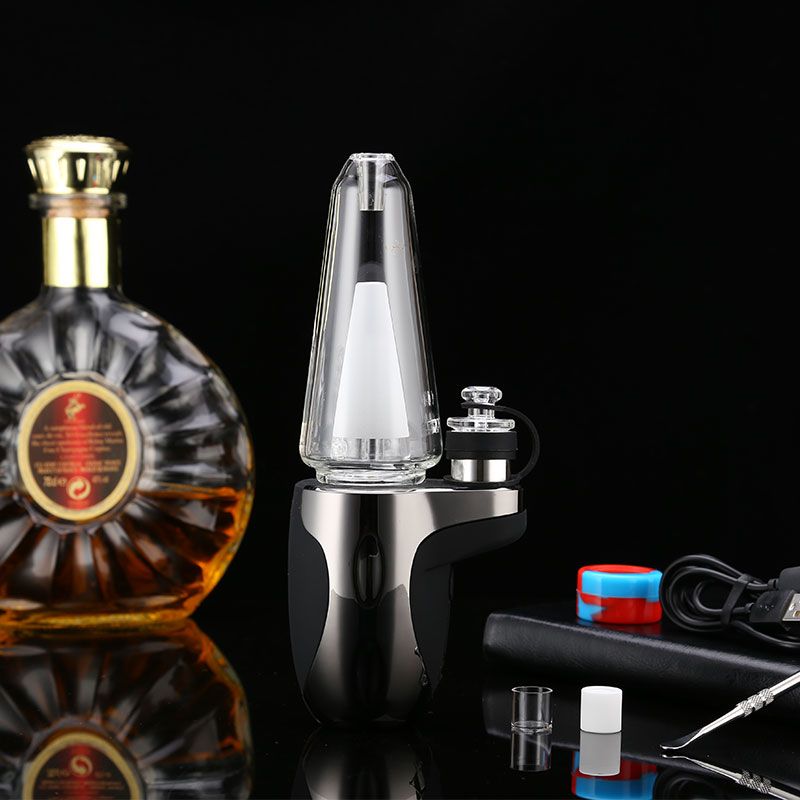
Exseed Dabcool W2 Kit is an easy to use portable Water Pipe Vaporizer Electric Dab Rig that made for dabs & concentrates. Designed for waxy oils such as shatter, wax, and other extracts. Dabcool W2 Kit is made of metal and rubber, with a handle at the bottom, which is more comfortable to operate and hold. It is equipped with a 1500mAh high-performance lithium-ion battery to provide powerful heating function and long service life. Dabcool W2 Kit is operated by a button on the front. Press 5 times to turn on the power. LED display shows the current temperature. Dabcool W2 Kit has an intelligent temperature control system and a fast heating time of 20 seconds and provides 4 temperature settings (450℉/ 500℉/ 600℉/ 680℉). Press the power button twice to heat the device, and then press it once to switch between 4 heating settings. Splash guard borosilicate glass body at the top prevents water from sucking out. The atomizer comes with a cap for your dabbing experience. There is a design to increase inhalation resistance and help the atomizer to heat up. Designed with 4 gears, it can support cut tobacco, e-liquid, and tobacco paste. Reminder: water will damage the inner wall of the atomizer, please keep it away from water.
Features:1. On/Off: Press For 3seconds
2. 4 Unique Manual Heat Settings(450℉/500℉/550℉/600℉)
3. 20 Second Average Heat-Up Time
4.Micro-USB Fast Charging, Full Charge Time: About 2 Hours
5.Atomizer Fit Puffc pe ak
6.The Device Has Low Voltage Protection, Short Circuit Protection And Overheating Protection.
Kindly Remind: If you need replacement Atomizer & Glass Filter for W2, you can search in our store or consult us.
How to use:
STEP 1: Fully charge device before first use. White lights pulse while charging, and turn off automatically when complete.(1 light: 0-25%; 2 lights: 25-50%; 3 lights: 50-75% ; 4 lights: 75-100%)
STEP 2: Fill glass with water just above the air-hole. Do not fill glass while attached to base.X- Do not allow water in lower section!
STEP 3: Align inlet hole on the front of the glass with atomizer. Carefully place the glass into the base.
STEP 4: Hold the button for 3 seconds to turn on device (same way to turn off device). The white lights will flash once and the ambient lights will flash sequentially red>blue>green.
STEP 5: Single click to toggle through heat settings.1 white light: 450℉ 2 white lights: 500℉3 white lights: 550℉ 4 white lights: 600℉Device will vibrate once while changing heat.
STEP 6: Use Loading Tool to place contents on the bottom surface of the bowl [not the side].
STEP 7: Place carb cap on top of atomizer.
STEP 8: Double click to initiate heat-up [5 seconds avg. ], device will vibrate twice and ambient lights will be red. Single click the button to turn off the heat-up process at anytime.
STEP 9: Ambient lights will turn green when ready. ( green lights will be on for 20 seconds, then heat up process automatically stop and ambient lights turn blue)
STEP 10: Use a cotton swab to clean the chamber after each use.





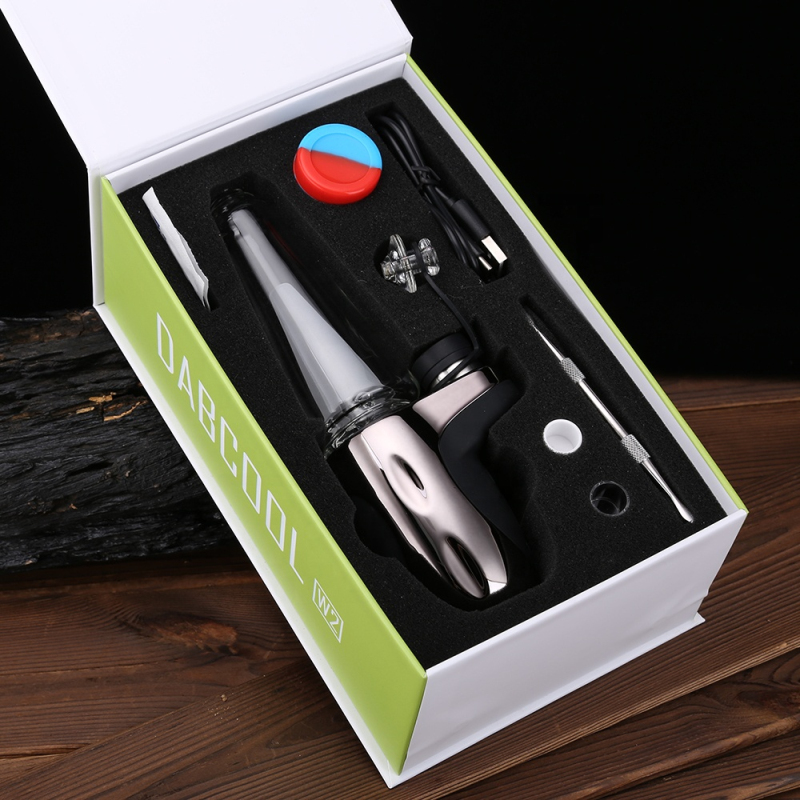
Package List:1* Alcohol Pad
1* Micro-USB Super Charger
1* Loading Tool
1* Glass Attachment
1* Atomizer
1* Replaceable Coil
1* Silicone Box
1* Carb Cap
2* Extra Bowl
-
Customer ReviewsNo comments


