

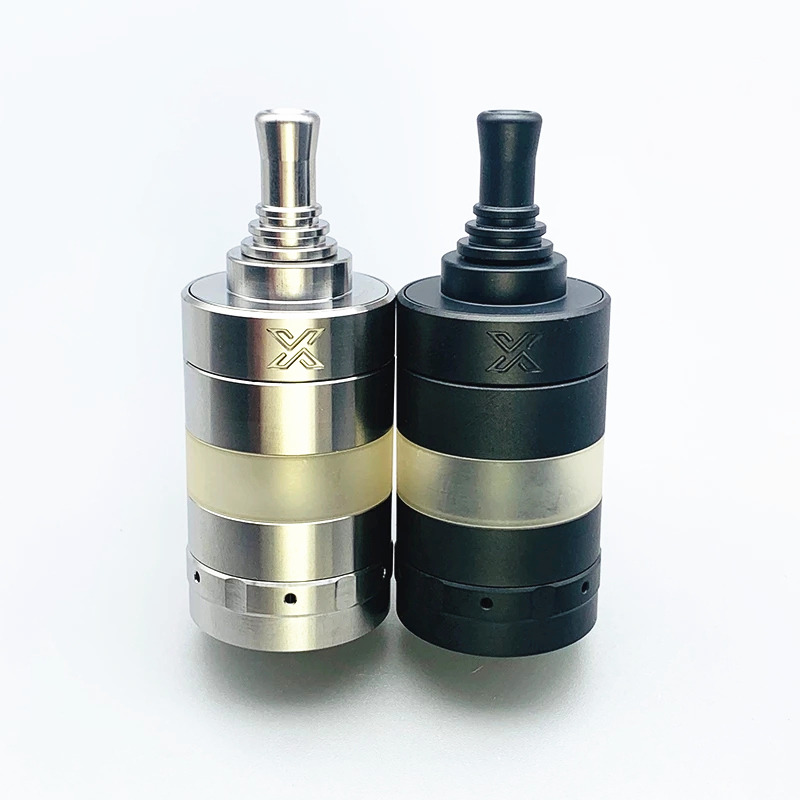

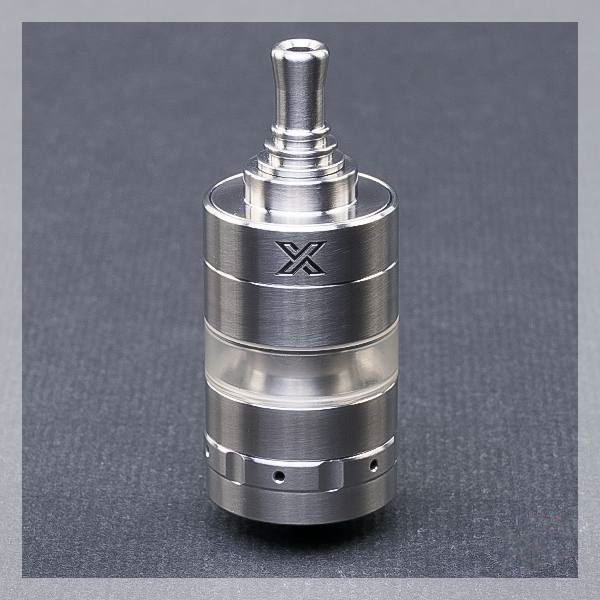
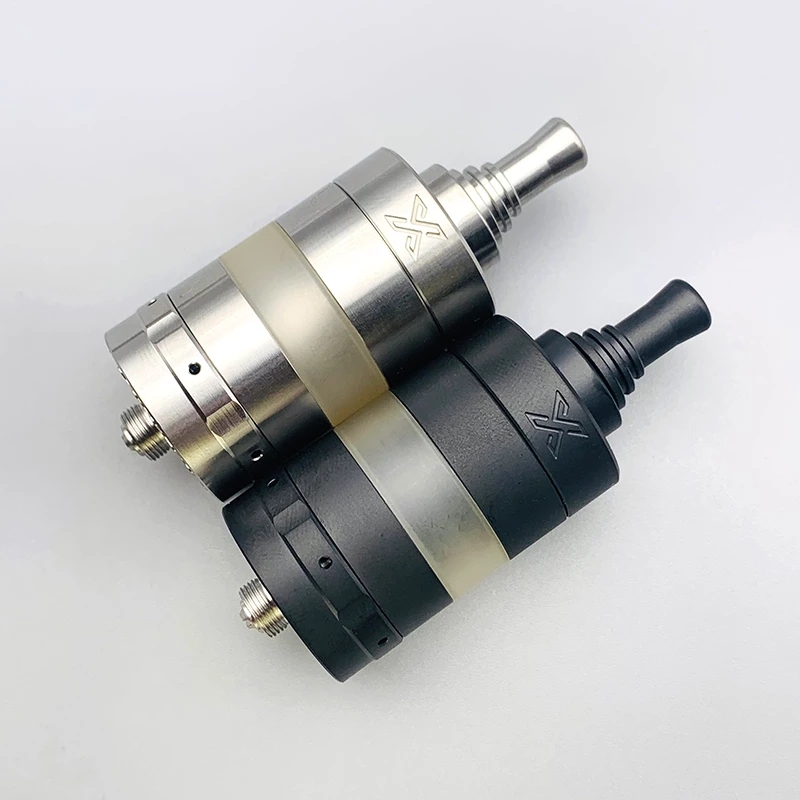
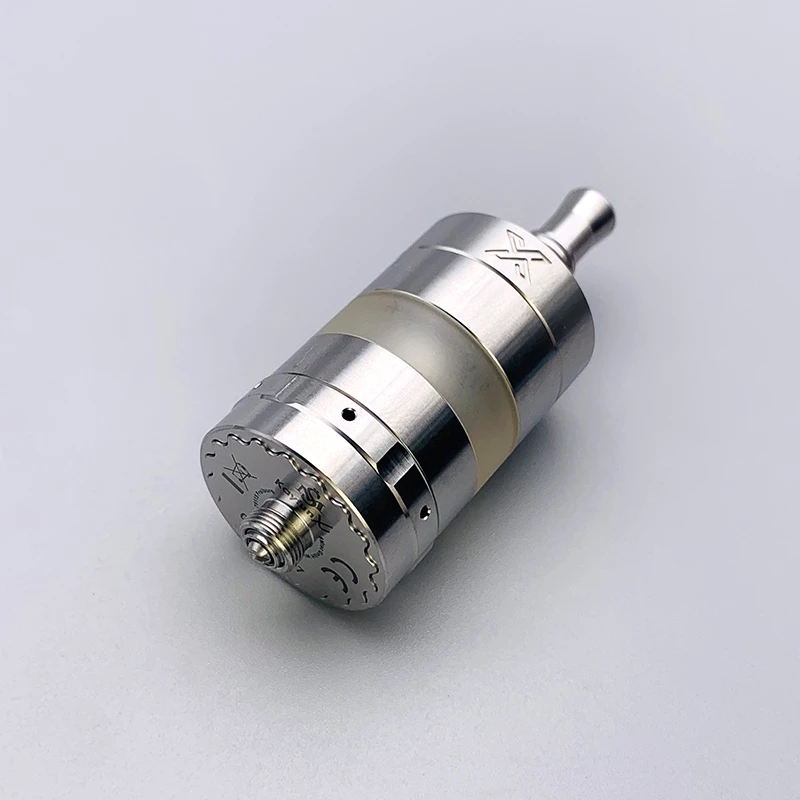

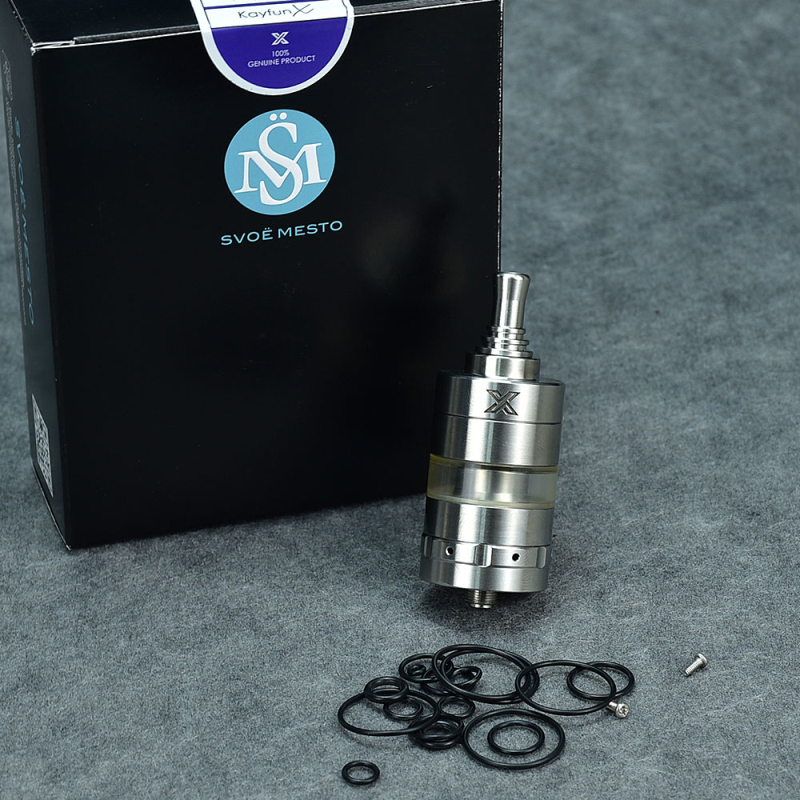
Kayfun X RTA Atomizer
* Airflow Control: Internal
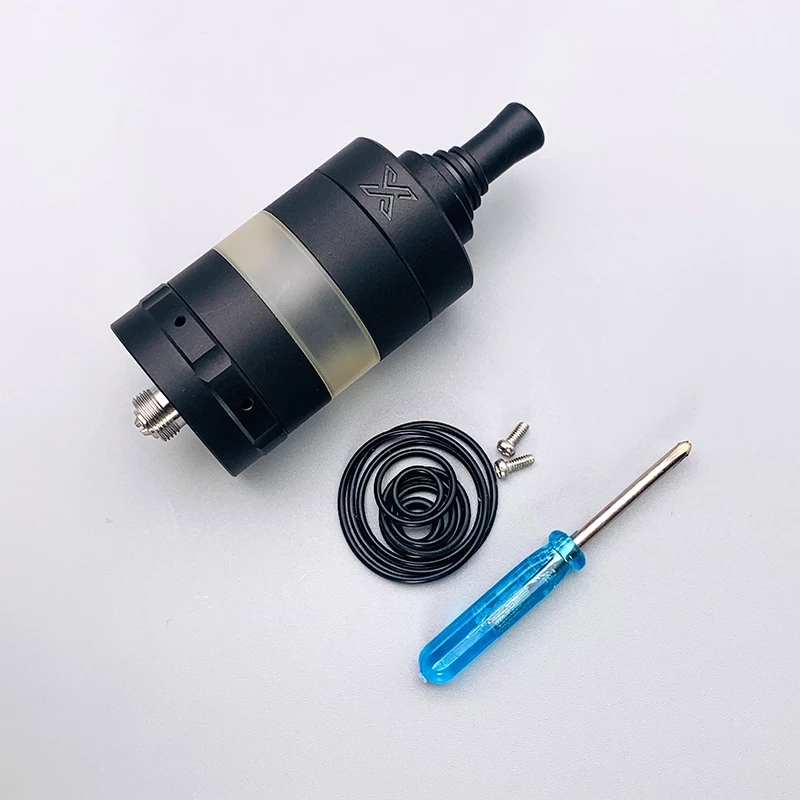
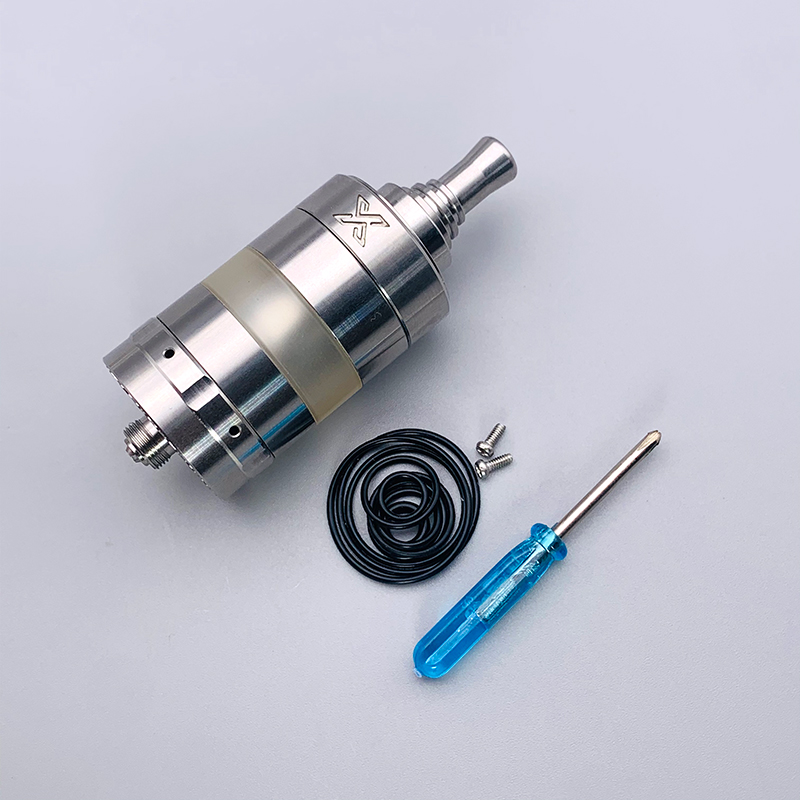
* Color: Stainless steel/Black
* Filling: Top Fill
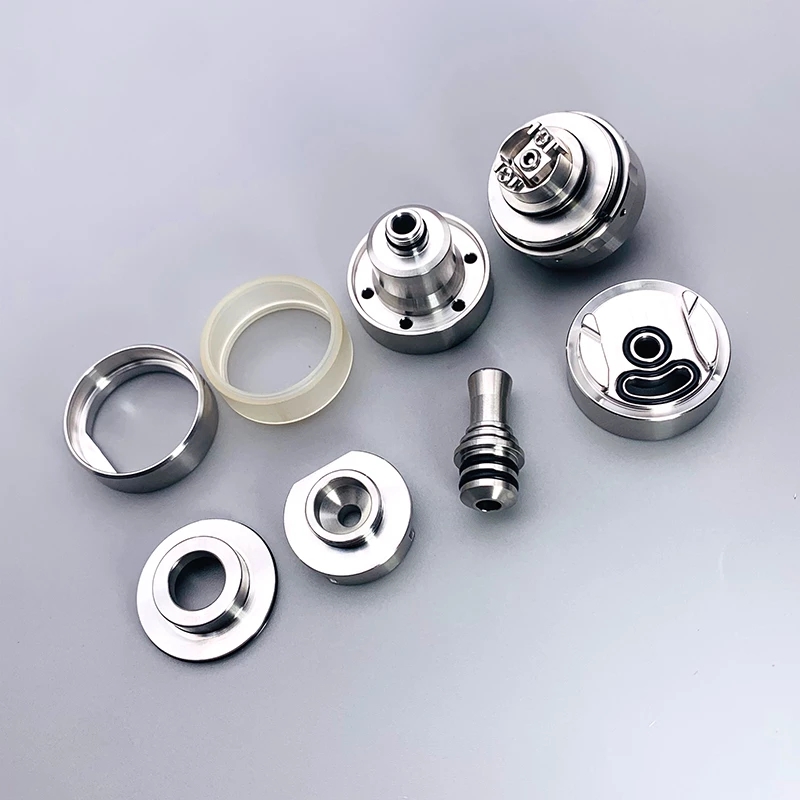
* Material: PEEK, POM, PSU, stainless steel
* Surface: Brushed
* Tank Volume: 4ml
* Diameter: 24 mm
* Vaping style: MTL
* 1:1 Clone
-
Detail
One thing that the Kayfun Lites (both variations) were missing though was top fill. It might seem crazy to people to have an atomizer launched in 2019, and refreshed in 2021 that is missing top fill. But having used these extensively for the last few years, it was a minor quibble.

With the Kayfun X they have brought in top fill. And in a very interesting and clever way…
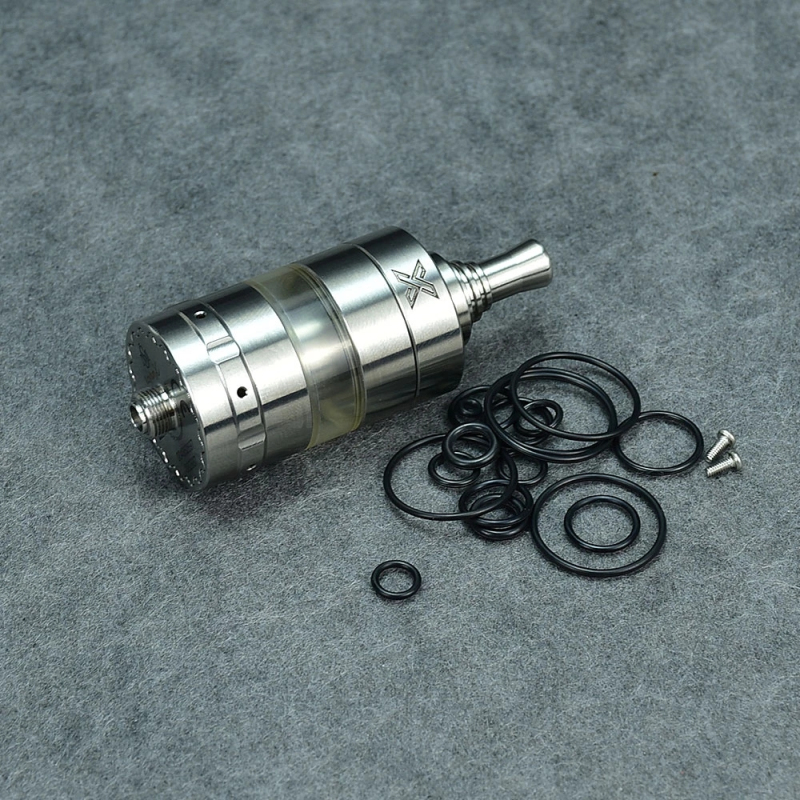
In The Box
-
Kayfun X Atomiser
-
Manual
-
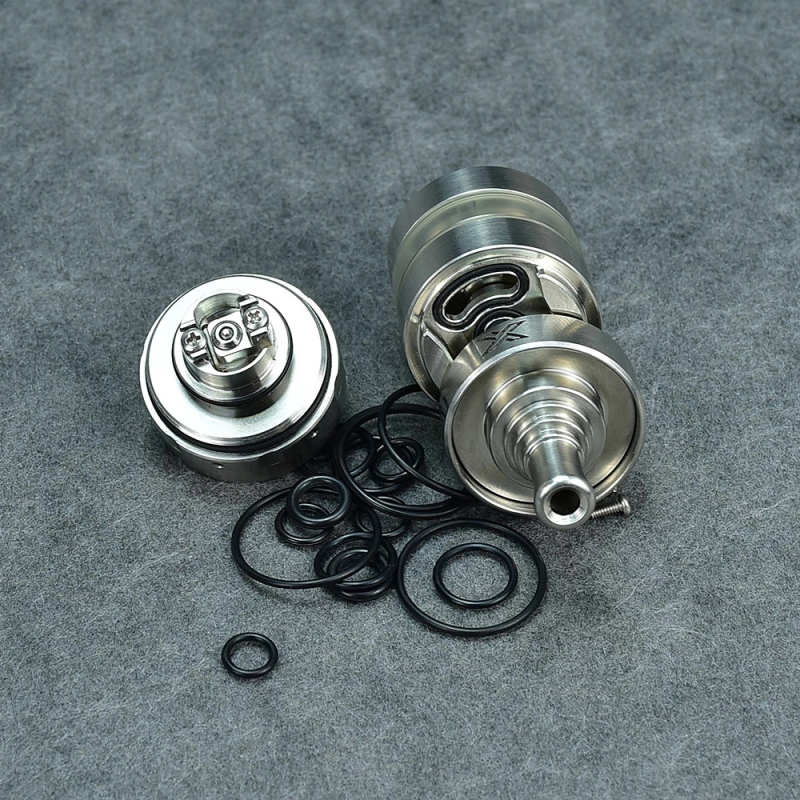
Spares bag including o-rings and deck screws

Specs
-
Dimensions – 24mm x 42.5mm (not including 510 or drip tip)
-
Capacity – 4ml
-
Airflow – 0-1.8mm continuous adjustment (requires removing from the mod + screwdriver)
-
Materials – Stainless Steel and PSU
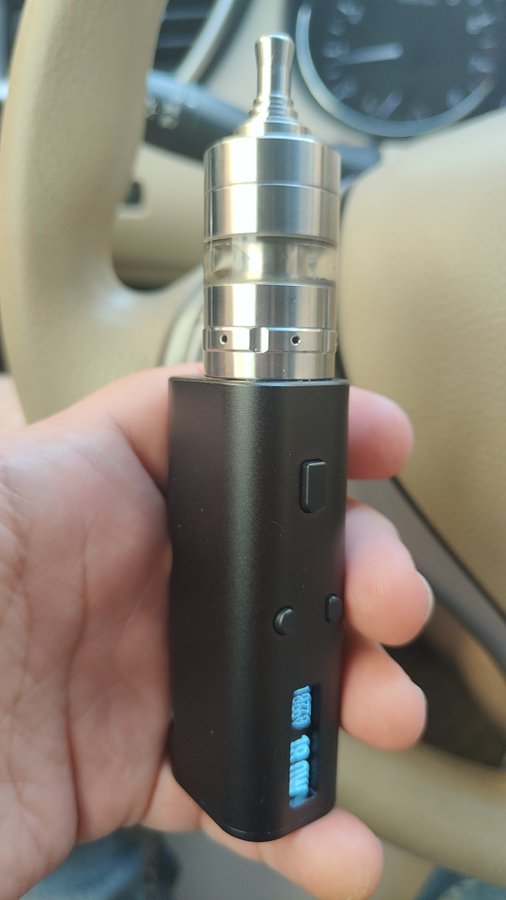
Drip Tip
Included with the Kayfun X is a newly designed metal drip tip. This is double o-ringed and the base of it is convex to perfectly fit into the Kayfun X.

The Top Fill
The top fill on this directly relates to the liquid control system built into the tank. So speak about the top fill first, and then explain how it connects.
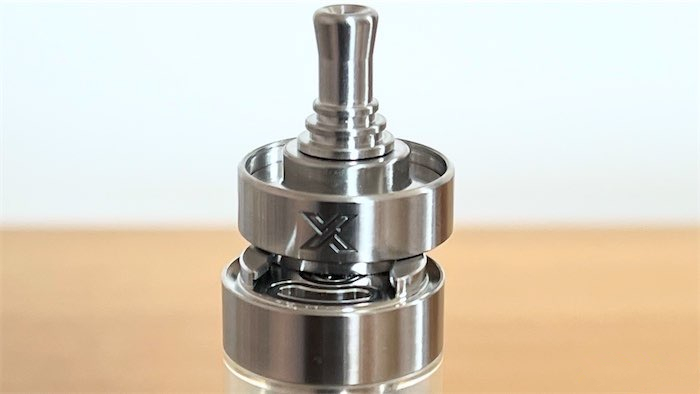
To use the top fill you lift up the top section of the tank (there are two clicks, more about the second one when we speak about the liquid control!)

Then push it back where the stylised X logo is (reminds me a little of the X-Factor logo!)

This uncovers a small kidney shaped fill hole with an o-ring surrounding it

It’s definitely easier to refill this with smaller nosed e-liquid bottles, as it is possible to get an air lock here if you’re not careful. I’ve found that 60ml Chubby Gorilla bottles are too wide to put the tip inside the fill hole, you have you to hold it carefully right against the lip when you fill.
The other thing I noticed was that as it’s hard to see your liquid level, as the top of the tank is metal and the fill hole is so small, it’s very easy to accidentally overfill and have liquid run across the top plate.
Once you’ve filled up, just reverse the process and you’re good to go.
Liquid Control
The liquid control works in tandem with the top fill. When you lift up the top section there are actually two positions. The first just raises the top fill cap as above and the base stays still.

Whereas the second lifts the whole of the tank up from the base.

It is possible to close off the liquid flow by raising the whole tank without lifting the top cap at all, you just need to hold around the body of the tank when you lift, rather than just the top cap.

Another nice touch with this design, is when you close the liquid control, you can spin the tank around so that it’s orientated how you want. If will fit down using the cog shaped base plate. Using it on a side by side and you can’t push the top back to refill? Just spin it round a little.
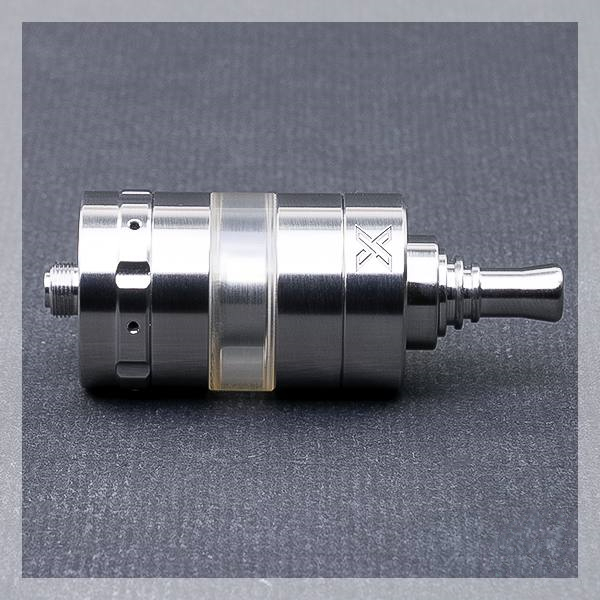
Airflow Control
The airflow is controlled by the “Aerokon” airflow system first developed for the Kayfun Lite [plus]. Gone is the Teflon screw from the original Kayfun Lite that just altered the amount of air coming in to the tank. Instead it uses a metal screw that screws up and down inside the 510 assembly, with the tip of it poking up to the airflow on the deck.

By raising or lowering this screw you can precisely adjust how much air is able to hit your coil from fully open (the diameter of the airflow hole is 1.8mm) to totally closed.
You obviously have to remove the tank from your mod, and then use a small flat-head screwdriver to adjust the Aerokon screw. Obviously this isn’t going to suit people that like to change their airflow on the go, instead it’s far more suited to someone who finds the airflow they like, and sticks with it.
The air enters the tank from the 6 equally spaced holes around the lower body, it is then directed up and to the deck, being constrained by how much your Aerokon screw is raised.
The Kayfun Lite and [plus], only had one airflow inlet, so by expanding that to 6 spaced around the tank, it stops the occasional problem of covering your airflow with a finger when you go to vape.
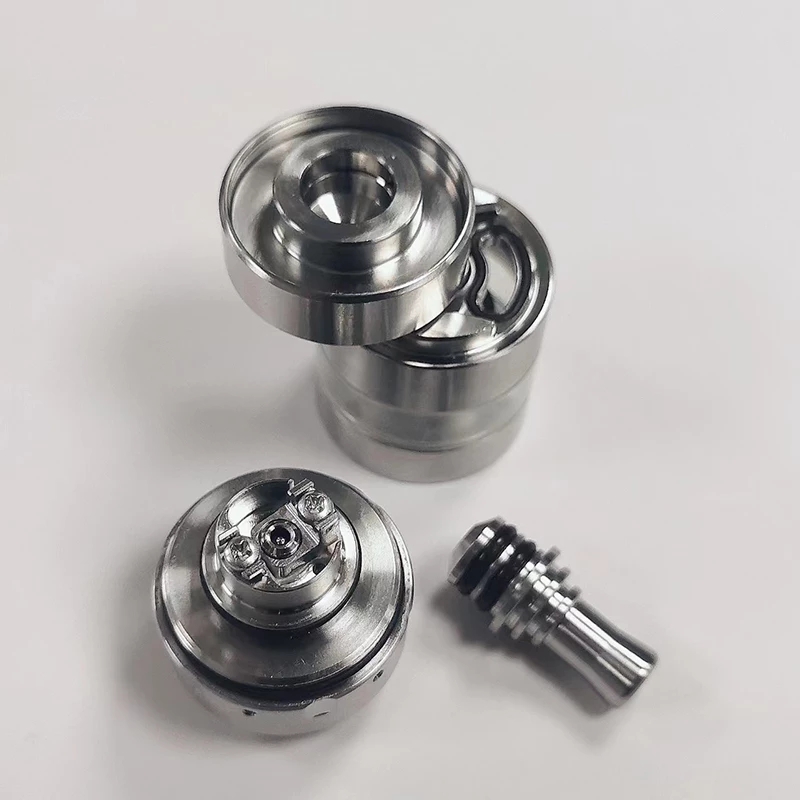
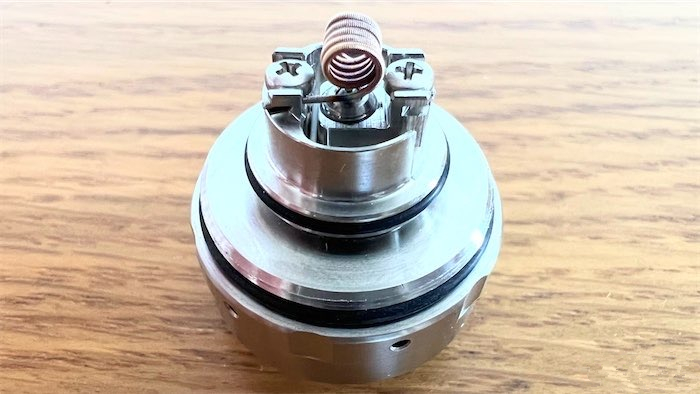
Deck
Anyone that has ever seen a Kayfun deck will be immediately at home here. They haven’t changed much, and why mess with something that works so well?
In the central airflow hole you can see the tip of the Aerokon screw poking through to control the amount of air.

It’s a two post deck with walls around it for the wicks to drop into. At the base of these two wick capture cups are paired liquid feed holes.
Looking inside the top section of the tank you can see the liquid ports from the top section to the base. You can also tell there’s a very small chamber that should help with flavour.

How To Build the Kayfun X RTA
I’m not going to run through a full build tutorial on this one, partly because it’s a pretty easy build.
When you place your coil you’ve got two options for leg placement. The standard way is to put your legs so that they go inside the post walls and get trapped by the screw coming down. If for whatever reason your coil is just a bit too long to manage this, it is possible to have your legs outside the post walls, and wrap them around the screw the other way.

My build in this example is my standard Vandy Vape Superfine SS Fused Clapton, with an inner diameter of 2.5 and 5 wraps, it comes out to about 0.5Ω.

When it comes to wicking the coil, I’d recommend drawing an imaginary line straight up from the main thread on the base and cutting it there.

For a 2.5mm coil, if you’ve got enough wick that it just barely squeezes through the coil, you’re going to want to thin the wicks out. You can afford to pull out quite a lot, then just trim them back when you’re done.

Finally for popping the wicks in the capture cups, the best way to do this is to fold them in so that the ends of the wick will be resting against the liquid ports. There’s various ways to do this, but I found the easiest way is to place your thumb against the outside of the deck, and use a pair of tweezers to gently pull it up so that you can drop the ends straight down.

How Does the Kayfun X RTA Perform?

Airflow and Cloud Production
Firstly cloud production is never going to be its strong suit. This is a purely mouth to lung tank. In terms of the airflow though, it is very smooth and due to the clever airflow control it can go from totally closed off, to a relatively loose mouth to lung vape in a continuous adjustment.
Even fully open though, you’re not going to be managing a direct lung inhale, as its 1.8mm at the widest. So this ranges from 0-4 on our 1-10 scale of tightness. Where 1 is like trying to suck a Golf ball through a hosepipe, and 10 is fully open with no restriction.
Not being able to accidentally place your finger over a single airflow hole is definitely a nice change from the previous Kayfun Lites.
Flavour
I had high expectations coming into testing this. Flavour from the Kayfun Lite’s that I own is probably the best of any rebuildable I’ve tested.
Using my standard Berry Ice from SVC Labs 50/50 VG/PG I was getting great accurate flavour reproduction. I found that the metal drip tip muted the flavour a little bit, but switching to a plastic drip tip meant it was easily on par with the Kayfun Lite it shares so much of its DNA with.
As normal for mouth to lung, my Berry Ice is a 50/50 VG/PG ratio. I much prefer 50/50 for vaping mouth to lung, but there’s no reason that 70/30 wouldn’t work.
Any other notes?
One thing I always noticed with the first Kayfun Lite was that liquid managed to seep down by the Teflon screw in the 510 connector. I even noticed this happening (although less so) with the Aerokon screw when I upgraded to the Kayfun Lite [plus].
Although I can’t see that much has changed, I haven’t noticed any liquid collecting at the 510 connector. So definitely an improvement here.
Similarly there’s been no leaking that I’ve been able to spot at all. The system that closes off the liquid control seems to help massively when refilling.
The only time I’ve noticed liquid going where it’s not supposed to, is when I’ve accidentally overfilled and liquid has pooled on the top cap. When you close it again, it squeezes the liquid out so you might get a couple of drips appearing where the top cap meets the main body of the tank.
Pros
-
Great flavour
-
Top fill
-
Beautifully made
Cons
-
Very small fill hole
-
Only comes with a metal drip tip
-
Can’t adjust airflow on the fly (subjective)
-
-
Customer ReviewsNo comments